


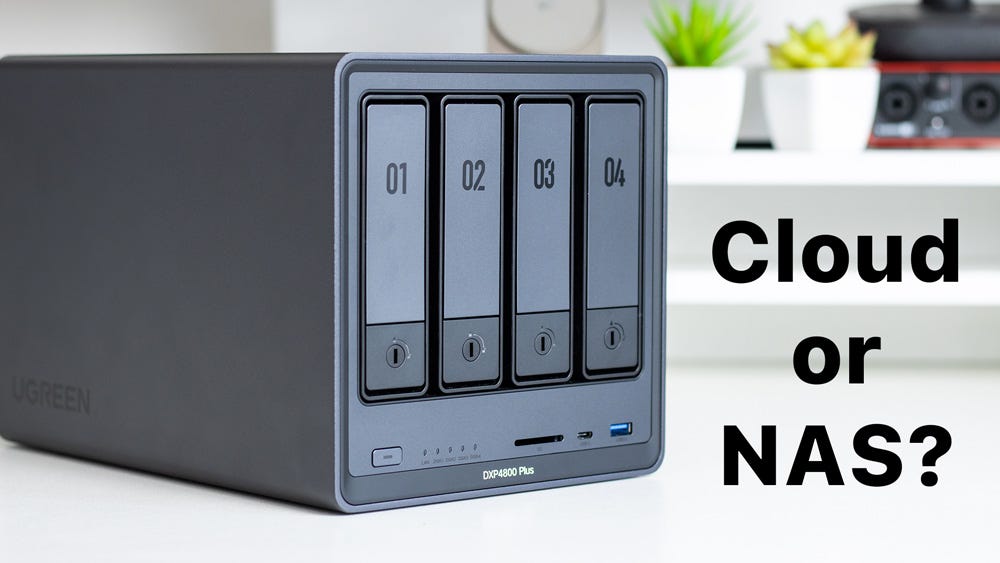
UGreen NASync DXP4800 versus cloud storage
Has the reality of owning a NAS lived up to the dream

When I added a UGreen NASync DXP4800 to my studio, I wasn’t sure if it would pan out the way I wanted it or not. I’d wanted one for so long, I wondered if it would live up to the dream! I know many of my fellow Mac users are interested in the idea of a NAS system, so I thought I’d write a quick story on what life has been like in NAS land!
I shift a lot of data each week. Creating my content is one thing, but backing it up, archiving it and having it available everywhereis also critical to me.
It was very nearly six 6-months ago that I started using a UGreen NASync DXP4800, and it quickly became part of my daily workflow. You’ll know the feeling - there are some bits of kit you simply can’t do without - well, my DXP4800 is now firmly one of those bits of kit.
It lived up to the hype!
UGREEN NASync DXP4800 - a money saver
Of course, with a NAS, there’s an upfront cost. Mine, as you see it here, cost just under £400 - but don’t forget that’s a one-off cost. You’ll need the drives to go with it, which is an extra cost, and I’ll talk more about those later, but my point is that once it’s set up and configured, there are no more costs and no monthly subs!
It just sits quietly under my desk, out of sight, doing its job.
Now, compare that to your various cloud storage solutions that I just know you are paying for, and I bet probably more than you realise, too, month after month, year after year. That money soon starts to add up!
The three cloud storage systems I have historically used have been Dropbox for over 10 years now, iCloud and Adobe. I pay £140 a year for the Dropbox Essential plan that gives me 3TB of storage. My 2TB iCloud plan costs £9 a month, and then there’s Adobe.
The Adobe one is sly. I pay around £50 a month for my Adobe Creative Cloud account, but as a photographer, I find I’m rapidly running low on my Adobe storage due to the photos I have in Lightroom. If I need to bump that up, it’s going to cost me roughly £10 per month per terabyte.
Very roughly speaking, that means I’m spending around £300 a year on various cloud storage, and that will go on year after year after year.
By my reckoning, I’ll have made my money back on buying a NAS in the first year to 18 months.
The benefits keep coming
Although I’ll admit I’ve had no security issues over the years with cloud storage, by using my UGreen NAS, it means I am totally in control of my data & my security.
I work alone, so I have 100% data ownership along with advanced NAS encryption to protect my files. In time, though, should I hire an editor, for example, there are flexible permission management tools, which would make it easy to share projects whilst still protecting my privacy when collaborating with someone else.
As your data grows, you’ll soon find yourself running out of storage with cloud solutions, and as we’ve already mentioned, and buying more storage can cost a fortune.
With a NAS, though, that’s not an issue. My UGreen NAS has up to 112TB of storage available. To put some context on that number, it’s equivalent to about 39 million 3MB pictures.
It’s a lot of storage.
Something else I’ve noticed over the first few months of using the UGreen NAS is that it’s much quicker to both transfer & download files to my NAS than it is to a cloud service. The powerful 12th Gen, 5-core Intel Processor means I can download a 1TB file in about 20 minutes.
My NAS is hooked up to my M4 Pro Mac mini via the 10GB Ethernet port that I chose when buying the Mac, which helps me get close to the quoted 1250MB/s download speeds. File transfers have been solid and surprisingly quick, too. If you have a gigabit full fibre connection, your speeds would be even better than mine.
The more I start to use and rely on my DXP400 it has made me think about upgrading the hard drives to SSDs. The huge benefit to me is that when I’m editing in the studio I could transfer all my video, b-roll and audio files directly to the NAS and edit directly from it.
If I wanted to go that route, UGreen has a compatibility list on their website, which is regularly updated, listing all the SSDs, HDDs, M.2 & SD cards that are compatible with this NAS.
As a workaround for now, though, I put my SD card from my Canon and my Samsung T7 drive in the NAS, as that way I’m transferring the files directly and as quickly as possible to the NAS itself. Transferring a 140GB file from that T7 drive to the NAS took under 7 minutes, which is frankly ridiculously quick!
More than just an archive
Initially, my main aim was to archive all my video work on the NAS so that it was offloaded from my Thunderbolt 5 drives that I work from and also safely archived.
This NAS has its own App Store, and when I was checking through some of the apps available on there, I found the Sync & Backup app and the Cloud Drive app. The Cloud Drive app allows you to back up to Google Drive if you have one, which means that you then have a genuine off-site backup.
Even though I have this NAS set up for single disk redundancy, I want to make sure that should the worst happen and say my studio burns down, then at least all my files are safely and securely stored off-site.
The other workaround, and the one I’ll be looking into to would be to back up to another NAS that I could have off-site. Then I could use the Sync & Backup app, and that’s something I’ll be looking into later this year.
Photos - it’s got you covered
Another app I love is the Photos app.
It’s incredibly powerful, and as you’d expect it to be, it’s AI-ready. Now, whenever I’ve been on a shoot, I dump all my files on the NAS. Long-term, that will save me from buying more Adobe Cloud storage for Lightroom. And because I can reach my NAS from anywhere on a Mac, iPhone or iPad, and even preview them too, I can just grab the files I want to work on in Lightroom rather than filling up my Adobe Cloud storage.
As photography becomes a bigger part of my life, having this workflow is going to be a massive advantage to me. And yes, if you were wondering, it supports all kinds of file formats, including RAW, RAF, CR2 and the CR3 files I get from my Canon.
Back to those AI features I mentioned, though - you can download modules for the photos app to recognise people, text, duplicates and even objects. If you have an album within moments, it will scan it and pull out the different faces or places for you to name. It even works with pets.
And it’s intelligent as well - every time you upload another image of that person or pet, UGreen’s AI engines will notice it and add it to their album.
It also works with the ProRes video files that I shoot on my iPhone 16 Pro Max, too. It won’t let me preview the file, but I can import it from the NAS to Final Cut and edit with no problems at all - and that’ll be even better when I upgrade to the SSDs.
The photo & video side of this NAS is one I’m really starting to lean into.
Over and above - hidden gems
I keep finding other uses for the DXP4800, too.
For instance, I have a pretty large vinyl collection. Whenever I buy an album, I rip it so that I also have a digital file of it. That means I not only have a copy of it, but if I want to listen to the album at the studio, where I don’t have a turntable, I can.
In the past, these albums had been stored on Dropbox, but that takes up a pretty tidy amount of space. So over the past few weeks, I’ve been downloading them from Dropbox and saving them to my NAS. If I’m in the studio, they’re available locally to play, and of course, as with the photos, because this is a NAS, I can reach those albums anywhere - and for free!
The interface is super user-friendly, it’s quiet, the software updates are seamless, and the App Store opens up a ton of possible features so that you can tailor the NAS to your needs. It’s so much more flexible than cloud storage solutions.
Setting it up a few months ago was simple. All you need to do is follow the step-by-step on-screen guide to set it up and start using it. From memory, it took me under 45 minutes.
Installing or swapping over the hard drives is as simple as unlocking and opening the drive trays - you don’t need any additional special tools. This NAS also comes with a 2-year warranty from UGreen.
I started by only scratching the surface of this UGreen NASync, but now, the more I use it, the more uses I’m finding for it.
Add a NAS to your workflow - they’re the way forward!